
How to Manually Upload Your Quinncia Interview If the Automatic Upload Fails
Step 1: Utilize the "Download File" Prompt
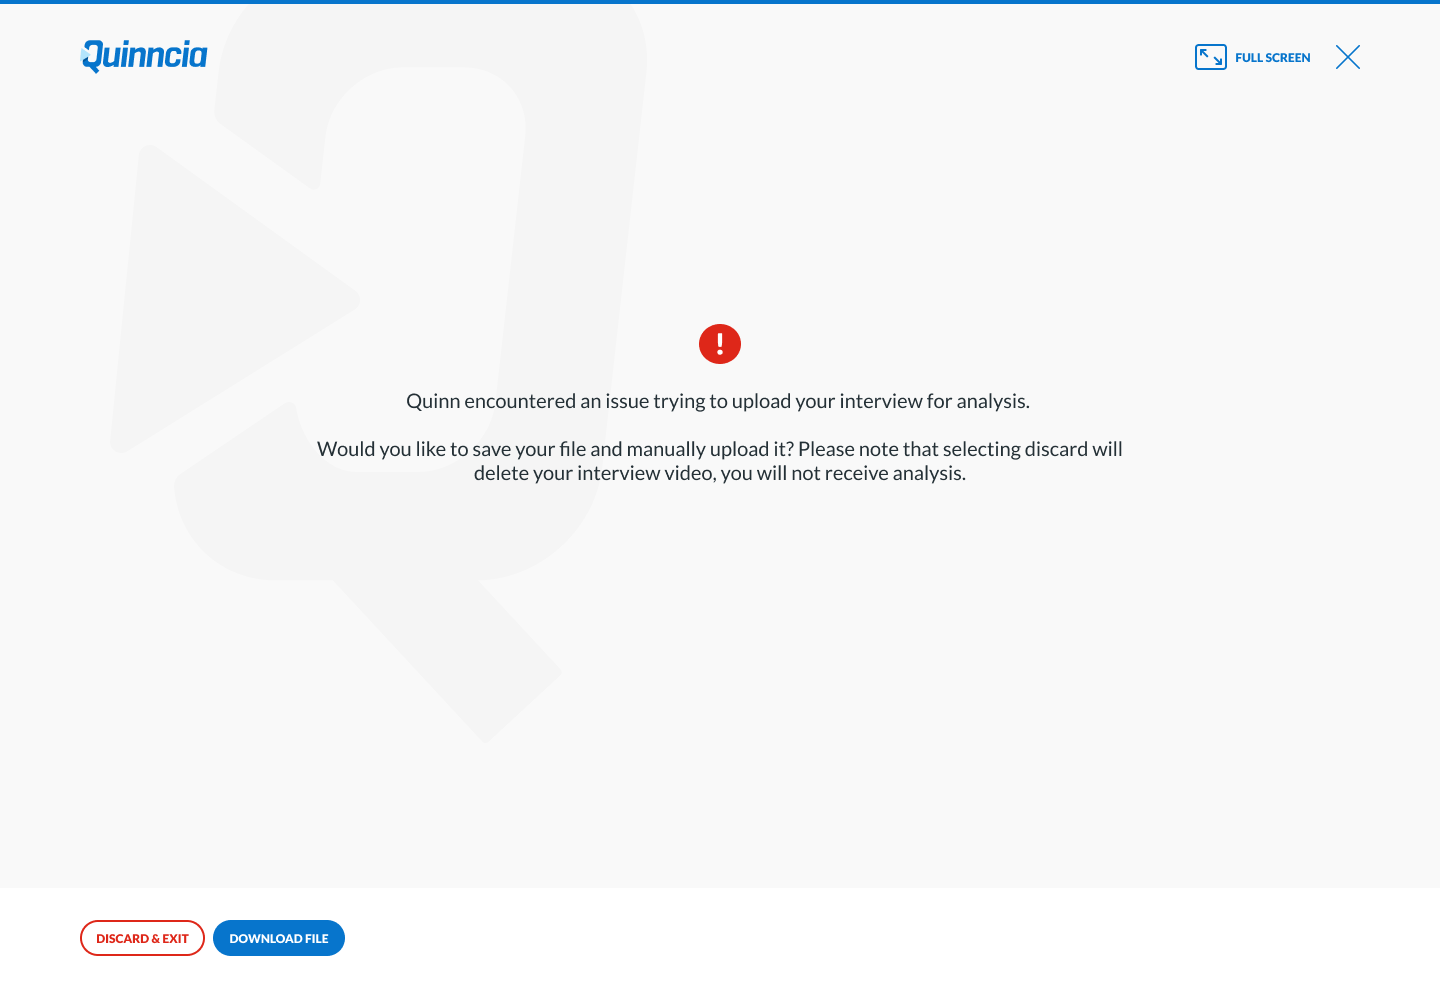
When a network drop or a browser timeout prevents Quinn from automatically sending your interview to their servers, the platform triggers a failsafe screen.
- Read the Prompt: You will see an error icon with the message, "Quinn encountered an issue trying to upload your interview for analysis."
- * Save the File Locally: Click the solid blue DOWNLOAD FILE button at the bottom left of your screen. This will save the video directly to your computer (typically into your device's "Downloads" folder).
- Verify the Download: Before navigating away from the page, quickly check your computer's files to ensure the video saved successfully and isn't a corrupted file.
Crucial Warning: Do not click the red DISCARD & EXIT button. As the prompt warns, selecting discard will permanently delete your interview video, and you will not receive your analysis.
Step 2: Manually Upload for Analysis
Once you have the video file safely stored on your hard drive, you can force the system to analyze it by utilizing the manual upload feature.
- Navigate back to your main Quinncia home screen.
- Look for the specific interview widget or upload prompt on your dashboard.
- Select the option to upload a new video. A file explorer window will open on your computer.
- Find the interview video you just downloaded, select it, and click open to begin the upload.
- Manual uploads can take a few minutes to process depending on your internet speed and the file size. Keep the browser tab open until you receive a confirmation that the upload is complete.
Step 3: Review Your Results
Once the upload finishes, Quinncia’s AI will go to work analyzing your pacing, eye contact, filler words, and content just as it normally would. You will receive an email notification when your analysis is ready to view.